Showing posts with label camp it up!. Show all posts

Saturday, August 29, 2015

Camp It Up!

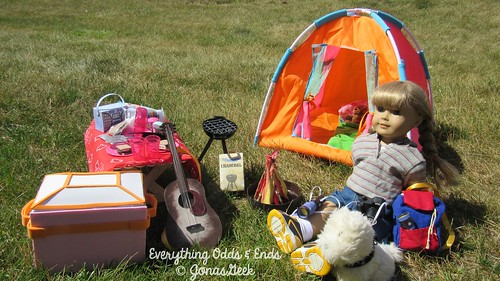
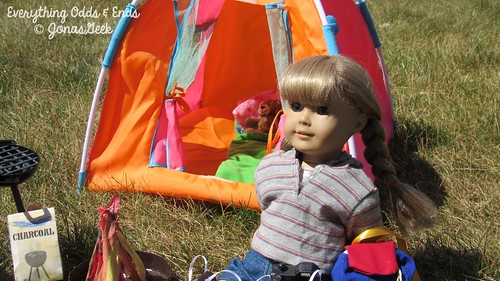
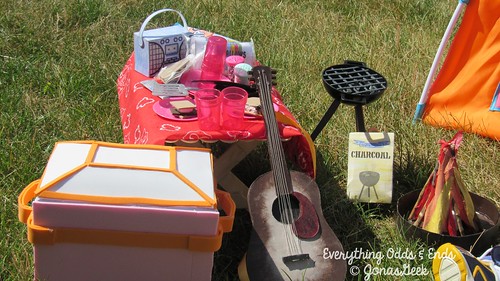
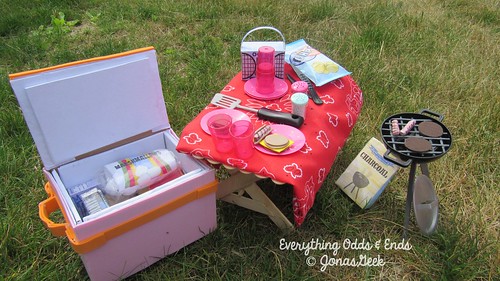
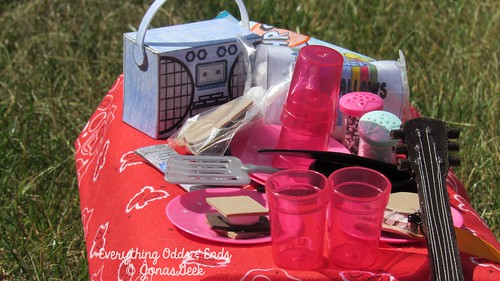
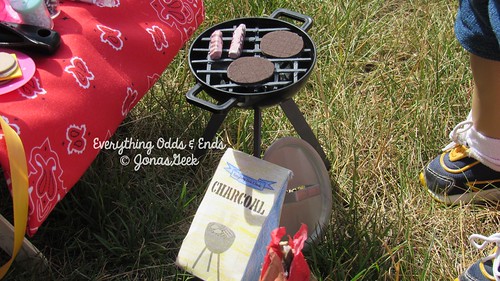
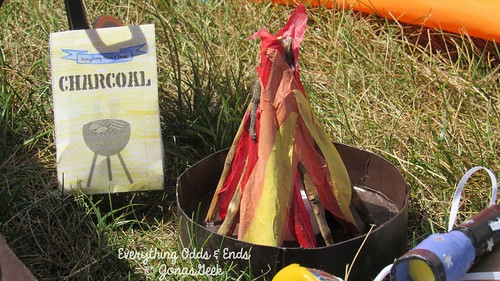
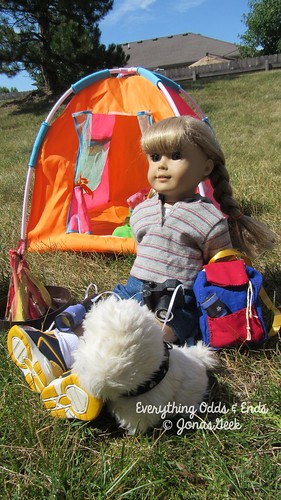
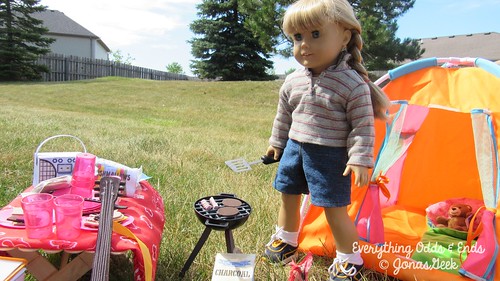
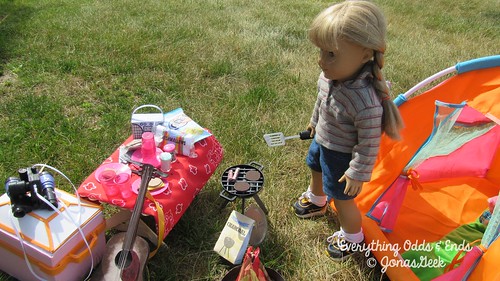
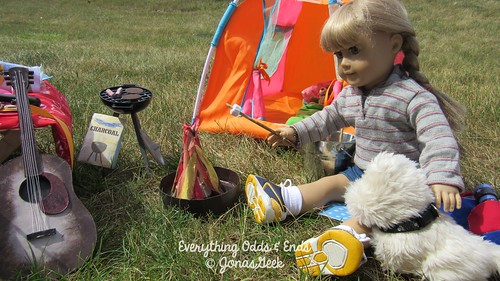
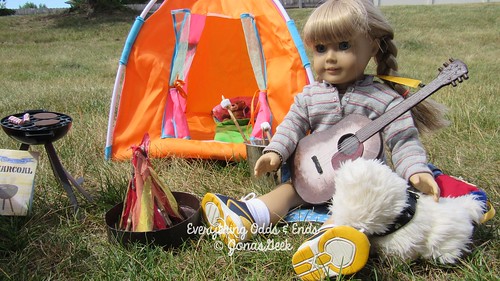
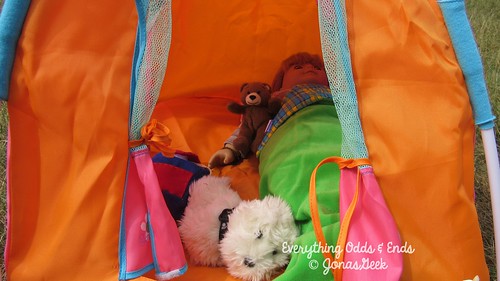
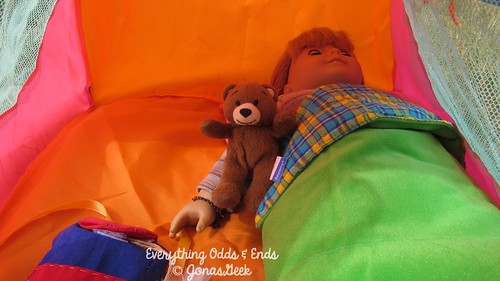
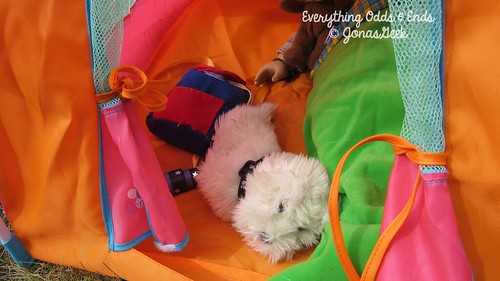
As an end of the summer trip, Emily went on a camping trip!  I helped set up her camp site and then she had tons of fun cooking and sleeping in her tent!

Here I am setting up the tent and all of the supplies Emily will need!


And here are some pictures I took as well!  Enjoy!

001

002

003

004

005

006

007

008

009

010

011

012

013

014

015

I hope you enjoyed these pictures!  I had lots of fun doing my first photo shoot with Emily.

Have a wonderday!

Sunday, August 23, 2015

Backpack and Gear!

Hello everyone!  I am here bringing you another post all about the things I have for a backpack and the gear I stored inside of it!  I made most of the items with tutorials that were already available, but I did have to use my imagination for a few things!  So let's take a look and get started!


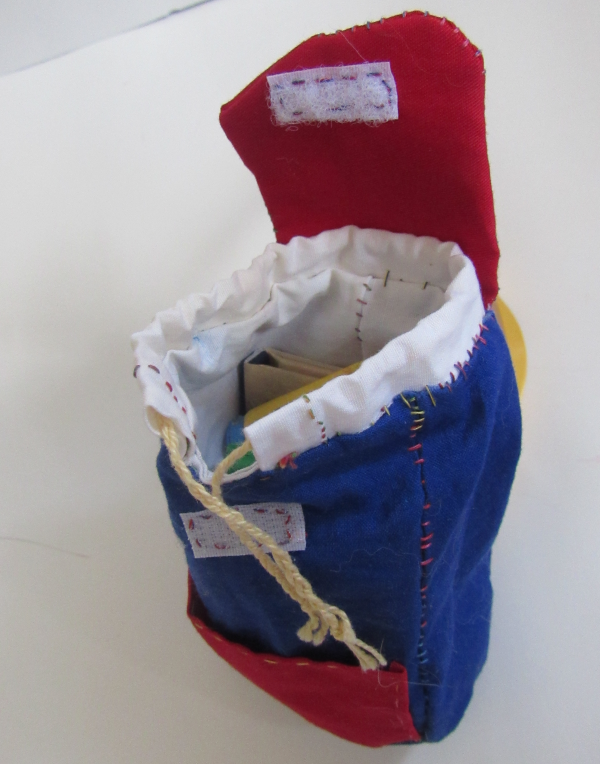
The first item is the backpack!  I used the free tutorial on this website!  She gives wonderful and precise instructions on creating this little backpack.  I wanted to practice my hand stitching, which is why it probably isn't the greatest looking, but it's sturdy and fun!  I loved sewing this!


It fits nicely on the doll's back too.  The straps are long enough to go over the dolls arms, and not look too big while it sits on the doll.


Now for the items in the bag!  I added a Molly book, so if she wants to sit down and read she can!  Then I added the First Aid Kit we made in a previous post!  Click here if you want to read through that post and see how I made any of the items in there.

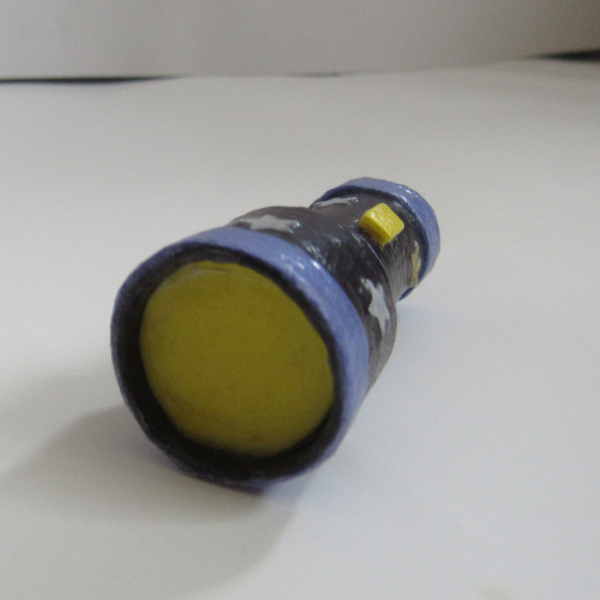
Next I will talk about the binoculars!  I was trying to figure out how to make binoculars when I found a MyFroggyStuff tutorial.  It was prefect.  I just added a few of my own touches and it was done!  I love the color blue and thought the stars added a great touch!


The next thing I made was a flashlight.  I started to wrap paper around a toothpick and then wrapped more paper around and around.  It took a lot of paper, but I had the longer construction paper, so it went quite fast.  I added a couple of pieces of foam for the on and off switch!  I coated both the flashlight and binoculars in a few layers of Modpodge to make sure they were extra sturdy too.

I even was able to make the flashlight and binoculars match!


Whenever I went camping when I was younger, I loved looking at the maps of the different camp sites.  I made one for my doll!  It could even come in handy incase she gets lost while on a hike.


While in elementary school, Mark Herrick, an illustrator, visited our school.  He was responsible for drawing the pictures in the Buck Wilder series.  We got two of the books he illustrated and he even signed them!  The Buck Wilder books are all about hiking, camping, and fishing!  They teach safety and many do's and don'ts while in the outdoors.  We loved these books when I was younger, so I made a simple version for my doll!


I adore tiny books, and this one was so fun to make!


And now Emily is off to go on an adventure!


Have a wonderday!

Sunday, August 16, 2015

First Aid Kit!

Hello everyone!  I am here with another Camp It Up! post.  Now when you are camping, sometimes you get cut or trip on that branch you saw, but fell anyways.  So for those moments you will need to bring along your first aid kit!


I was thinking about what type of container I wanted to store my first aid kit in, and as I was looking through my box of random odds and ends I keep from around the house, I found an old floss container.

I took out the piece inside that held the floss.  If you do this, I would get a parent's help because of sharp objects.

I cut out the First Aid Kit label from the printable and taped it onto the container.


Now for our first aid supplies!  Most of a supplies I've made were made with printables I have available at the end of post!

I think the number one supply you will need is bandaids!  On the printable all you will need to do is cut them out and fold them over.  I coated them with clear package tape and done!


Here are some antiseptic cleaning wipes (alcohol wipes basically).  These are for when you have a cut and need to clean it.  I stuffed a small piece of foam inside to make it kind of squishy like the real packs are.  I used clear packing tape to make them shiny.


Next is a cold compress.  When your doll falls down and gets sprain, you need something cold to put on her ankle.  A cold compress is a pack that when you crush it it becomes cold.  I stuffed some cotton from a cotton ball inside to make it bulky.  I then used clear packing tape to hold it all together.


Now we have some Sanitizing hands wipes.  As before I put a piece of foam inside to give it the feel of something is inside.  And covered it with clear packing tape.


Next I made this small sunscreen bottle.  I rolled up some paper loosely and glued the ends together.  I then put some glue in one end and squished it.  I put some foam to make the cap.  I painted it, glued the label on, and coated it in Modpodge (you can use any clear glue).


I decided to add some bug spray to my first aid kit from my own experience of having those pesky bugs always hanging around me.  I started rolling up some paper around a toothpick and then about halfway through, I cut a shorter piece of paper and kept rolling it all up.  I glued a small piece of foam on the top for the nozzle.  I painted, glued on the label, and put on some Modpodge.


As I was looking at a few first aid kit lists, I found a few said lip balm.  So I rolled up paper around a toothpick and then painted the tiny rolled up paper tube.  I glued on the tiny label and painted it with Modpodge.


Finally, I decided to make a toothbrush and toothpaste.  I made the toothpaste container the same as the sunscreen bottle.  I just did it with a small scale.  The toothbrush was inspired by MyFroggyStuff's tutorial, but I think I did it a bit different.  I just cut some small foam pieces and glued them on a small popsicle stick, which I cut because it was too big.


And there we have it!  A first aid kit fit for your dolls.  The printable is located here:

Colored version
Black and white version

I, once again, gave you both options if you would like print the colored version I have or you can color your own!  If you have any questions just let ask me in the comments below.


Next I have a fun backpack haul for camping and a few crafts to go inside!  Have a wonderday!

Monday, July 6, 2015

Gonna Eat This Camping Trip!: Part 3


And here we have part three of our Gonna Eat This Camping Trip!  This page is more the non-traditional camping foods, but can pass for camping foods or just inside your kitchen!

Snacks

Animal Crackers


I originally wasn't going to make these, but I thought it was fun idea.  As I made the other boxes before, I colored the template, and cut it roughly around the edges.  I glued it onto paper board and then cut along the lines.  I scored the edges and then hot glued them together.  As before I coated it with a few coats of Mod-podge (or clear glue).


Chips


Making the chip bag was fun!  I colored the template and then coated the image with tape, but I didn't put tape on the tab.  I cut out the image and then glued the bag together.  I glued one of the open sides together.

Now comes to filling it to look like there are chips inside.  You can add whatever you want inside, scrap fabric, paper, or I added some polyfil stuffing.  I then glued the remaining side together.  It works great because it squishes down.


Colored PDF Version / Outlined PDF Version
(On the snack templates I added the hot dog package too)

Hot Cocoa


One of my favorite things to eat on a camping trip is hot cocoa on those chilly mornings.


The box making is exactly as I stated before with the other boxes.


Inside of the box you will need hot cocoa packets!  I provided to different templates with just 2 packets and another with 6.  I wanted more, but I figured some would want less.

I colored, covered in clear tape, and cut out the templates.  I glued two of the sides together, and then put it just a tiny bit of filling.  I made sure to push it all the way to the bottom.  I then glued the top shut.  And I have six tiny cocoa packets.

Colored PDF Version (2 packets) / Colored PDF Version (6 Packets) / Outlined PDF Version (2 Packets) / Outlined PDF Version (6 Packets)

Cereal & Milk

And yet again, I used the same technique as before with making boxes.  The only difference was that I glued the tops shut.  I wasn't going to put any cereal inside of them.  I tried to make them smaller, like the travel sizes they have, but they would have been really small, so I just made them sort of smaller than a bit box would have been.


I used MyFroggyStuff's tutorial for making these small milk containers.


Grilled Foods


Next we are going to make some grilled food.  I made parts for hamburgers and hot dogs.

Hot Dogs & Buns

Here are the hot dogs and buns!  For the hot dogs I cut them out of the thick foam and painted them.  I coated them in Mod-podge as well.  I didn't add the grill marks on the ones that went in the package because they wouldn't have been grilled yet.


I colored the template and cut it out.  I layered two rows of four hot dogs (gluing them together) and wrapped them with some plastic.  I taped the edges shut and you have a package of hot dogs!


To make the hot dogs, I cut some buns out of tan foam and glued the hot dogs inside of them.  I tried other glues, but the only one that actually stuck was the hot glue.

Hamburgers & Buns


I made a package of cheese slices and hamburger patties.  I would like to add a label onto the uncooked hamburger patties, but I didn't quite get that far.  I wrapped both in some plastic.


The hamburgers are made from foam!  I cut circles out of foam for the cooked patties (brown) and buns (tan), and cut squares out of thin yellow foam.  I cut out two circles for the top bun, one was smaller than the other.  I hot glued them all together and there we go!

That is what I have created for my doll camp food!  I hope to start making more food to fill a kitchen soon!  Do you have any ideas?  Any more camp food you take with you on a trip?

Have a wonderday!