Showing posts with label harry potter. Show all posts
Showing posts with label harry potter. Show all posts
Monday, June 4, 2018
Hogwarts Here We Come!
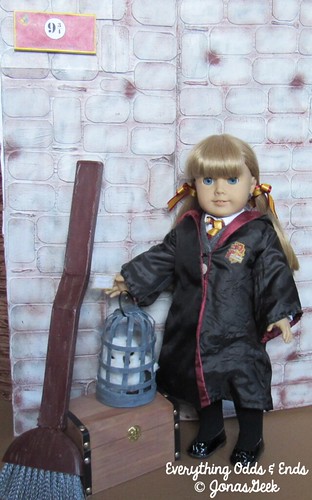
Last September I did a photo shoot with Emily on her way to Hogwarts! Here are the photos from that day!
Thursday, October 29, 2015
Wednesday, October 21, 2015
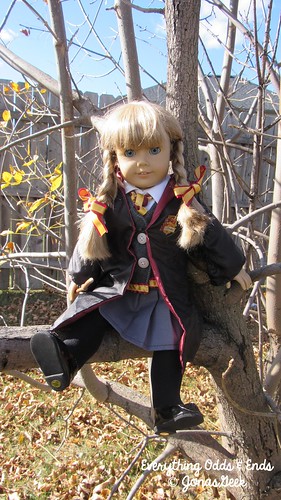
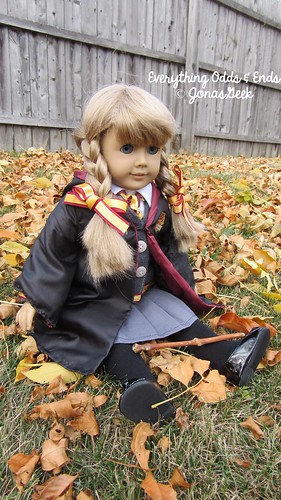
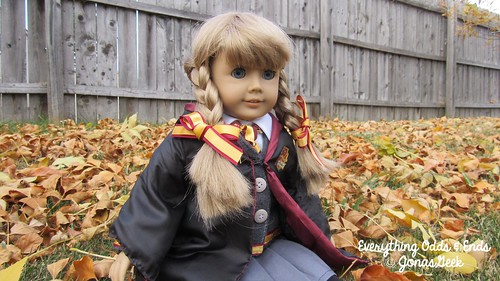
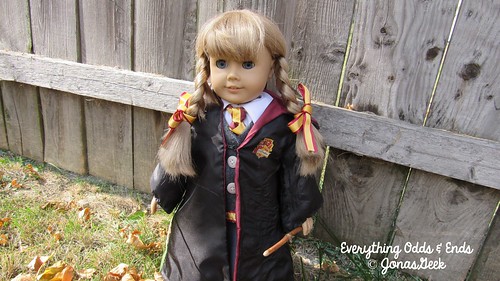
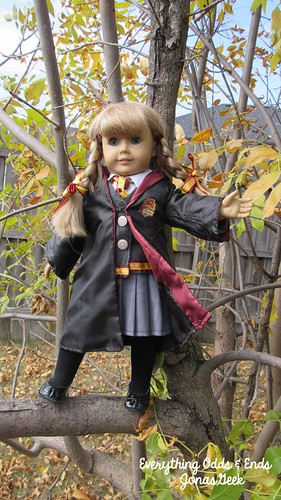
Hogwarts Uniform Photo Shoot
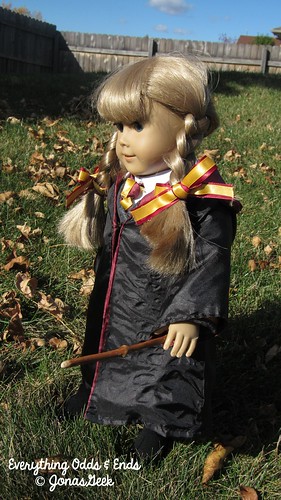
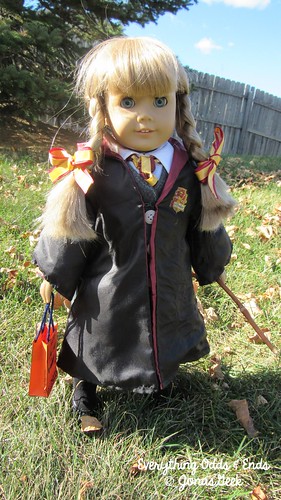
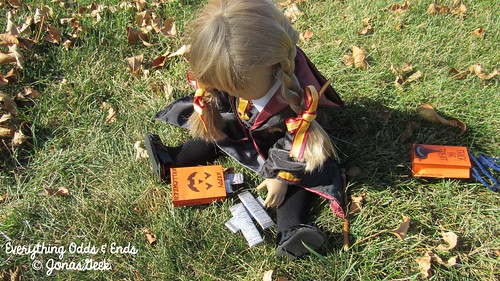
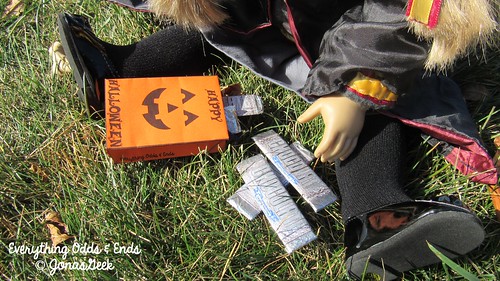
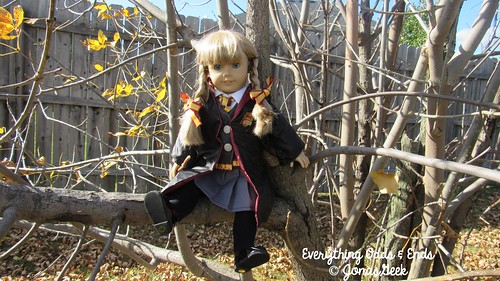
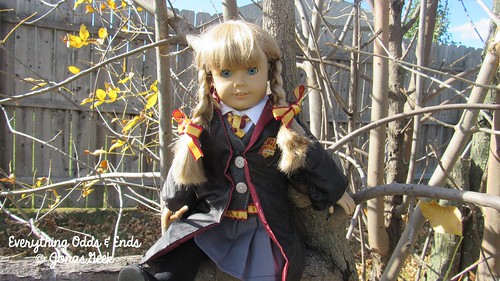
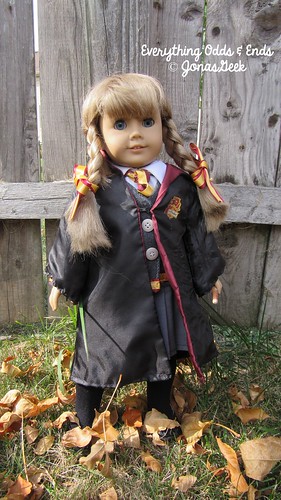
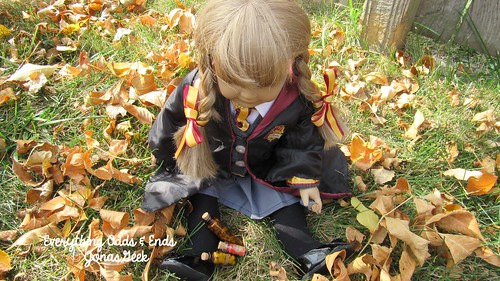
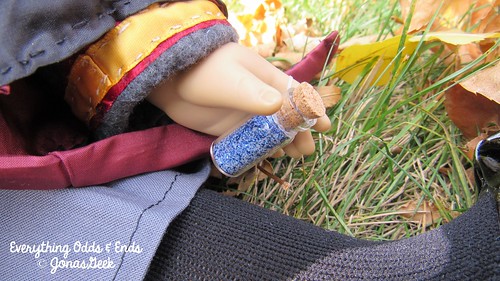
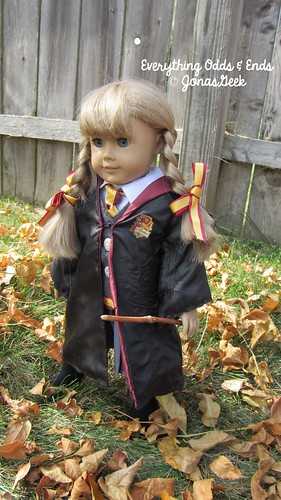
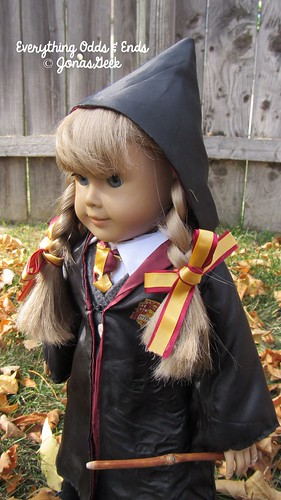
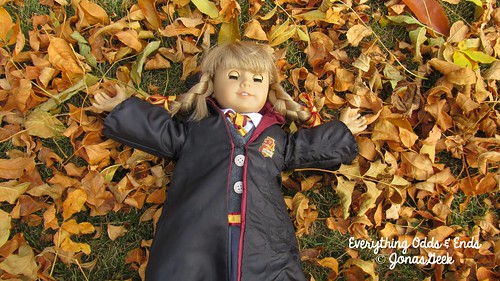
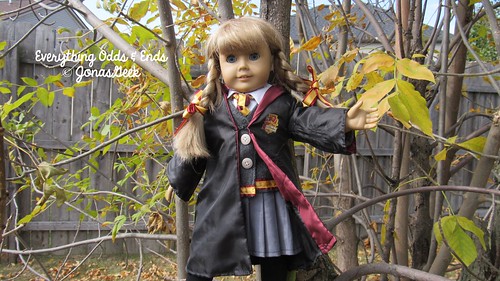
Here is a photo shoot I took the other day while it was quite windy, but the leaves were perfect and it was just the right amount of sunshine. I sewed all of this outfit, which you can find most of the process on my blog, except the tights (Springfield Collection) and shoes (Sophia's).
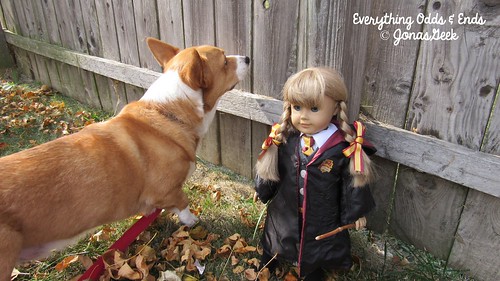
Here is a bonus of my dog, Rocky, helping out...well helping out in his own way.
Here is a bonus of my dog, Rocky, helping out...well helping out in his own way.
Monday, December 15, 2014
Hogwarts School Uniform: Bonus - Hogwarts Letter
Hello everyone! I know it's been a few days since I've finished my Hogwarts Uniform, so I wanted to show you the mini Hogwarts Letter to first years I made! I looked up a few different ways of doing this, and I found a way that worked best for me. I wanted to find scrapbook paper that looked close to parchment, but I didn't have any that resembled it so I used some textures I had and put them behind the words as images on Word. I printed it on a quick draft and it came out pretty perfect to me.
I have to say making the seal was fun. I found a picture of the seal online and made it small enough to fit my American Girl doll. I glued it onto a thin piece of foam and cut it out. I figured it would be the closest to feeling like wax. I think it turned out pretty neato.

I found the letter contents online with a quick search and added in the Hogwarts logo and words at the bottom. I did glue two pieces of paper together and it sort of made it look more wrinkled and parchment like. Here is a back view of the envelope with the letter.
I folded the envelope by using the letter folded in half as the guide. I did put on my address because I'm a dork and I wanted it as authentic as possible. If you wish to use the font I did, just do a quick Harry Potter Fonts search and you will find plenty. I even found some I used to have, but didn't anymore because of a computer meltdown from last year.
I have to say making the seal was fun. I found a picture of the seal online and made it small enough to fit my American Girl doll. I glued it onto a thin piece of foam and cut it out. I figured it would be the closest to feeling like wax. I think it turned out pretty neato.
I hope to one day make a template for you to use as well, but right now I'm not really that skilled in the PDF making department. I hope too soon though. If you have any questions about the process just leave a comment and I will answer as soon as I can.
Have a wonderful day!

Friday, December 12, 2014
Hogwarts School Uniform: Update #5
Well guess what? I finished it! I had an incredibly fun time making this and I am quite excited about how it turned out. I will show you some pictures I took yesterday, but I substituted and then I was too tired to post. So without further ado is my finished Hogwarts Uniform!
And you can't see in my pictures above, but I made a even made a wand pocket inside of her robe. I took some of the left over black lining and folded it in half. I sewed three sides and turned it inside out. And then I sewed it inside on one of the sides. It took a bit more time than I thought it would, but now I have somewhere to store the wand when it's not in use.
So yep, that is my Hogwarts School Uniform! If anyone has any questions about the small details of things I would happily answer them! Have a wonderful day!

As you may have noticed I added a few things that I haven't posted about. I finished the tie and after sewing all of those ribbons to the fabric my hand is happy for the break.
I even made some hair ribbons using the left over ribbon and some stiching adhesive I had already. I didn't have any shoes that really fit, but when these are the shoes from an American Girl Today outfit from I suppose 12 or 13 years ago. It was called the Urban Outfit. The socks are also from this outfit.
I took off the robe so you could see the whole outfit. The pleated skirt, sweater, tie, shirt
And you may have noticed her wand. To be honest I thought about making one, but then my mom suggested I just go outside and see what I can find. Well I found the perfect stick. The stick even had a small knot at the end for the handle. It was originally taller than her, but I cut the stick down and sanded the end to make it rounded with a slight point. I made it to look to be about her size. I like how real it looks.
And you can't see in my pictures above, but I made a even made a wand pocket inside of her robe. I took some of the left over black lining and folded it in half. I sewed three sides and turned it inside out. And then I sewed it inside on one of the sides. It took a bit more time than I thought it would, but now I have somewhere to store the wand when it's not in use.

Monday, December 8, 2014
Hogwarts School Uniform: Update #4
Wow-wee! I have been making lots of progress. I haven't had time to post lately because I sat down and watched How To Train Your Dragon 2, Legends of Oz: Dorothy Returns, along with some of my other shows at night time when I usually post. I finished the shirt the other night and finished up the cardigan today. Yes I decided to make a cardigan instead of a sweater, but I will talk about that a bit later in the post.
Alright, so firstly I made the shirt yesterday. I used the collared shirt pattern from McCalls 4066 without using the sleeves and instead used the long sleeve from McCalls 3900 from the one of the outfits. I figured it would work since they were the same company.
Here is the collared shirt pattern up until you start adding the sleeves (and this is also before I sewed the back neck facing to the front, but I didn't take a picture of it all without the sleeves).
Here I am adding the sleeves on. If you can see it, I added cuffs to my sleeves to make them look more shirt like. I suppose it's the little details I add.
Pretty much all done, I hemmed the bottom too! I just needed to add the buttons.
On to the cardigan, this one took me a couple of days to complete. I used a cardigan pattern from McCalls 3900. I cut out the pattern and sewed the shoulders as always I sort of went my own way with this because it's sort of the same as other things I have done.
Alright, now after added the sleeves and sewed the sides, I put it on my doll and it was too short. I luckily bought way too much fleece, so I cut out a new one. I added a whole inch and half to the bottom to make sure it would be long enough.
Now the cardigan pattern I had didn't have the right type of neck line I wanted, so I hemmed it back a little. It was really easy and I was surprised how nice it looks. I even added a zig-zag pattern with the thread to give it an edge.
The buttons have snaps underneath them because making button holes is hard (I did it on a pair of pajamas and it was difficult).
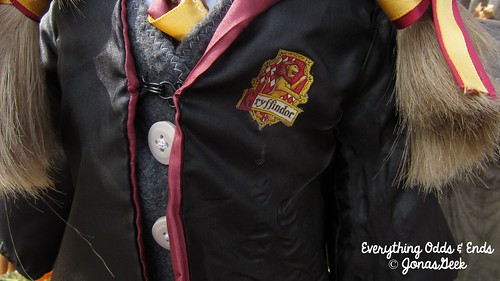
Also last night I added the Gryffindor crest to the robe. I forgot to take a picture of it, but I will definitely do it soon to show you all!
After I finished the cardigan I started working on the tie. And at first I was going to glue the stripes on, but I didn't like how it looked or felt. In the end I decided to sew the stripes on, which are of course ribbons.
I honestly like how it looks, but it will take time. I even added a small strap on the back to keep the back of the tie from moving. I plan on taking pictures of everything I've done later, so don't worry!
Goodness, quite the post I've made. Have a wonderful day!

P.S. Plus when I went on a small walk with my dog today we found the perfect stick to work as a wand. I wanted a stick because it looks the most realistic (you know as close to the Harry Potter universe as possible). : )
Alright, so firstly I made the shirt yesterday. I used the collared shirt pattern from McCalls 4066 without using the sleeves and instead used the long sleeve from McCalls 3900 from the one of the outfits. I figured it would work since they were the same company.
Here is the collared shirt pattern up until you start adding the sleeves (and this is also before I sewed the back neck facing to the front, but I didn't take a picture of it all without the sleeves).
Here I am adding the sleeves on. If you can see it, I added cuffs to my sleeves to make them look more shirt like. I suppose it's the little details I add.
Pretty much all done, I hemmed the bottom too! I just needed to add the buttons.
The collar definitely looks a little funny without the tie on. I need to iron it flat again after playing with it so much today. But I think it went well for not having a real pattern.
On to the cardigan, this one took me a couple of days to complete. I used a cardigan pattern from McCalls 3900. I cut out the pattern and sewed the shoulders as always I sort of went my own way with this because it's sort of the same as other things I have done.
Alright, now after added the sleeves and sewed the sides, I put it on my doll and it was too short. I luckily bought way too much fleece, so I cut out a new one. I added a whole inch and half to the bottom to make sure it would be long enough.
Now the cardigan pattern I had didn't have the right type of neck line I wanted, so I hemmed it back a little. It was really easy and I was surprised how nice it looks. I even added a zig-zag pattern with the thread to give it an edge.
I didn't take too many pictures of the second cardigan because I just wanted to get it done as quick as I could. So I put it on my doll and it was perfect this time, except for the darn sleeves.
Today I worked on the cardigan and finished it up! I hemmed up the sleeves a bit instead of just cutting them even. I didn't hem the bottom since it's fleece and I don't think it will fray. I was thinking of adding some decorative work later though.
The buttons have snaps underneath them because making button holes is hard (I did it on a pair of pajamas and it was difficult).
Also last night I added the Gryffindor crest to the robe. I forgot to take a picture of it, but I will definitely do it soon to show you all!
After I finished the cardigan I started working on the tie. And at first I was going to glue the stripes on, but I didn't like how it looked or felt. In the end I decided to sew the stripes on, which are of course ribbons.
I honestly like how it looks, but it will take time. I even added a small strap on the back to keep the back of the tie from moving. I plan on taking pictures of everything I've done later, so don't worry!
Goodness, quite the post I've made. Have a wonderful day!

P.S. Plus when I went on a small walk with my dog today we found the perfect stick to work as a wand. I wanted a stick because it looks the most realistic (you know as close to the Harry Potter universe as possible). : )
Thursday, December 4, 2014
Hogwarts School Uniform: Update #3
Howdy. I actually didn't get a chance to make this post yesterday, so I am going to share today. Last night I made the skirt for my doll. It was sort of a complicated process for me. I had never made a pleated skirt before and now I have. And it was hard.
I used the pleated skirt from McCalls Pattern #3900, which I believe I bought about three or four years ago.
I have a tip for all of you about patterns. If you are looking for patterns at JoAnns or other stores, wait for the sales. They always go on sale. I can say that I have never paid full price for a pattern. The most I have paid for a pattern is about $3.
I started by laying the fabric flat and pattern on top of it. I ironed the fabric and pattern since it was sort of wrinkled as well. I sewed the end as instructed and folded half of the pleats sewing it and then continuing with the rest of the pleats.
Here is the skirt with the pleats folded and sewn at the top.
After all of that, I had to pull the skirt straight at the bottom and hem the edge. I used the iron to re-add some of the pleats, but I think I will need to buy some starch to make sure they really don't flatten out.

I used the pleated skirt from McCalls Pattern #3900, which I believe I bought about three or four years ago.
I have a tip for all of you about patterns. If you are looking for patterns at JoAnns or other stores, wait for the sales. They always go on sale. I can say that I have never paid full price for a pattern. The most I have paid for a pattern is about $3.
I started by laying the fabric flat and pattern on top of it. I ironed the fabric and pattern since it was sort of wrinkled as well. I sewed the end as instructed and folded half of the pleats sewing it and then continuing with the rest of the pleats.
Here is the skirt with the pleats folded and sewn at the top.
I was a bit confused on adding the waistband and elastic, so I sort of made up my own way. I added the waist band on and left a small opening to slip the elastic inside. I had to redo the waist band once because I put it on backwards, and then I had to redo the elastic because it kept getting lost in the waistband. But I finally got it neat and tidy.
Here is the skirt on my doll. I'd say it's a pretty well done job. I do wish it was a bit shorter, but I can always hem the edge again if I want.
Overall I would say it was a good learning experience for me. I am hoping to make the shirt next. I could not find a button up pattern to save my self, so I am going to mix and match some patterns. I hope it will turn out alright, I believe it will I just need to start working on it.
Have a wonderful day!

Subscribe to:
Posts (Atom)

