Monday, June 8, 2015

Let's Gather 'Round The Camp Fire!


Two quick notes before we get started!  
  1. This craft may need the assistance of an adult if you use certain equipment, such as a hot glue gun or sand paper.
  2. When creating my fire pit, I wanted to be able to reuse the tea light.  That is why I used two circle disks.  I wanted to be able to put one inside of the other.  If you wish to just glue a tea light to the middle of one big circle or you don't have one, then you can just cut out the big circle.  On with the show!


What You Will Need:
Paperboard/Cardboard or Lid/Lids
Glue
Paint
Scissors
Sticks
Sandpaper (optional)
Tissue paper/foam (I ended up using tissue paper, but I put foam in the picture)
Ruler (not shown)

Steps:

1. Now for my craft I used paperboard, but if you wish you could use a disposable lid from a container (a Pringles can, butter container, or anything you would think is big enough to make the fire how you want it.)

First draw two circles, I made one slightly smaller than the other so it would fit inside.  (I believe my bigger circle had a diameter of about 4 1/2 and the other was just slightly smaller.)


And then I cut out multiply copies of each circle.  I had four bigger circles and two smaller ones.

2. I glued the circles together and put something heavy on them so they would dry flat.


3. On the smaller circle draw a small circle and cut it out.  I traced the tea light I was going to use as the "flame."  If you do not have a tea light or "flame" then you can just omit this part.


4. Next is making the sides to glue onto the bottom bigger circle.  I figured out the circumference by doing some math, but you can just cut a strip and measure it that way.  I believe I made mine about an inch high, but you can make yours how ever high you would like.


I glued the two ends together making sure it was tight around the disk.  I held it together with a clothes pin until it was dry.

Crafty Note: Instead of making the strip, you could also glue some rocks around the edge for a fun nature affect.


5. Next I started to assemble the fire pit.  I glued the circle strip around the bottom edge of the bigger circle.  You can probably use any kind of glue, but I decided to use the glue gun on this part to make it faster.


6. Paint!  I painted the inside of the pit brown, along with the small disk as well (both sides!).  I then painted the outside of it a darker brown.


7. Now comes the fun part where it will finally going to start looking like a fire pit!  Take a buddy, my dog went with me, and find some sticks outside.

Crafty Note: If you don't have any available sticks that is alright, grab some Popsicle sticks or toothpicks or take the fluff off a Q-tip and paint them.  With your imagination anything is possible!


I personally sanded down my sticks.  I didn't want the particles from the dead wood getting everywhere when I stored it.  For picture taking purposes I showed myself sanding inside, but make sure you have a vented area when sanding and wear protective covering.  I went outside to really sand my down.  Again, had my buddy with me.


8. Glue your sticks onto the smaller disk with the hold cut out.  I put the tea light in the middle so I knew how I wanted it to go.  Again I used hot glue for this part, but I think I would have preferred a clear drying liquid glue.  Although I hope it will last longer with the hot glue.

Crafty Note: I wanted to be able to reuse my tea light, so I didn't glue the sticks to it.  If you would like to glue them to the tea light that is your decision.


Rearrange your sticks however you would like.  It's really up to you!

9. Now we need some flames!  Unless you like how it looks and want to stop, cool.  If not, let's keep moving forward!  As I mentioned at the top, I used tissue paper to make my flames.  

I went to my craft supplies and realized I didn't have the colors I needed, but worry not.  I had white!  I painted the tissue paper the colors I needed: red, orange, and yellow.  It looks awesome because you can't put a thick layer of paint on, so you can still see the tea light flame through it.

I took some white school glue (doesn't really matter what kind) and mixed it with some water.  I used a paint brush to put the glue on the sticks and carefully started to arrange how I wanted the fire to look.  I added the red, then orange, and finally yellow.


I did get frustrated a little when I was doing this part, but it looks great when it dried.

10.  That's it!  Add your tea light in the middle and you have a roaring camp fire!  Grab your marshmallow roasting sticks and guitar for a fun night at the camp fire!  If you have any questions leave them below and I will get to them as soon as I can!
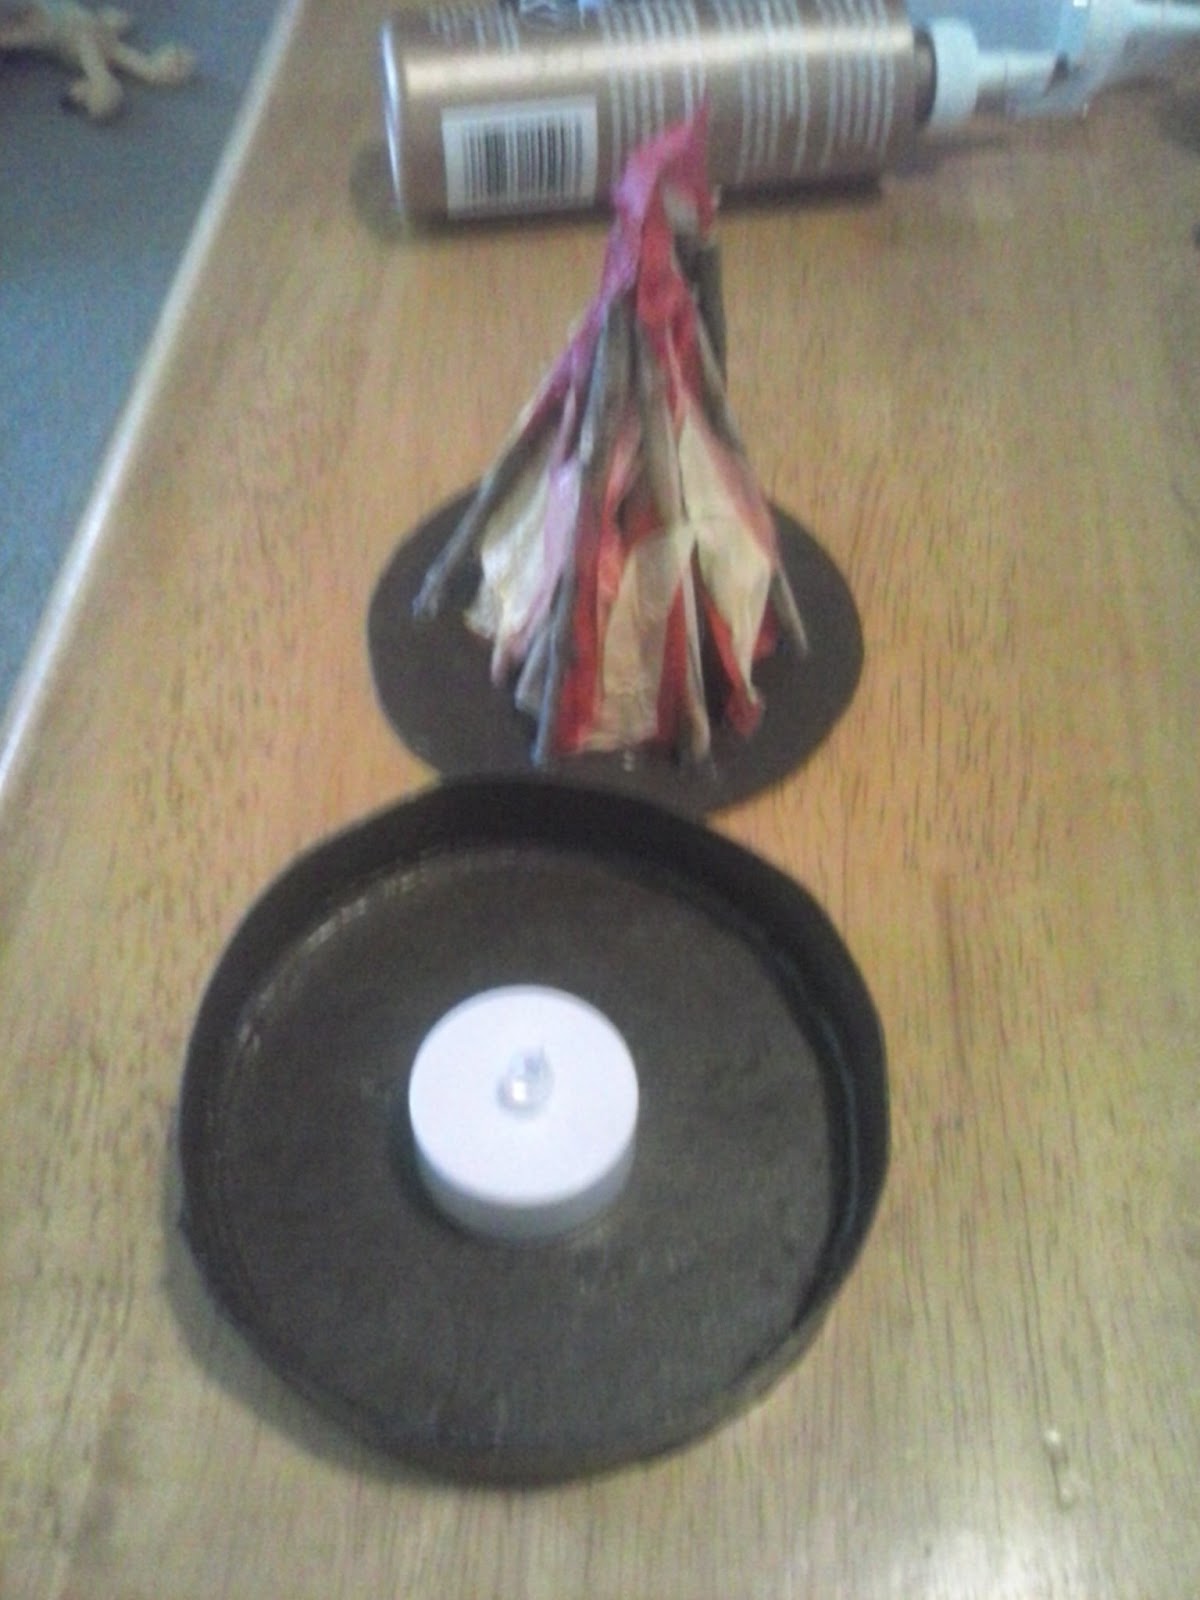

Here is the camp fire in action!




Saturday, June 6, 2015

Camp Doll Diaries: Marquee Sign!

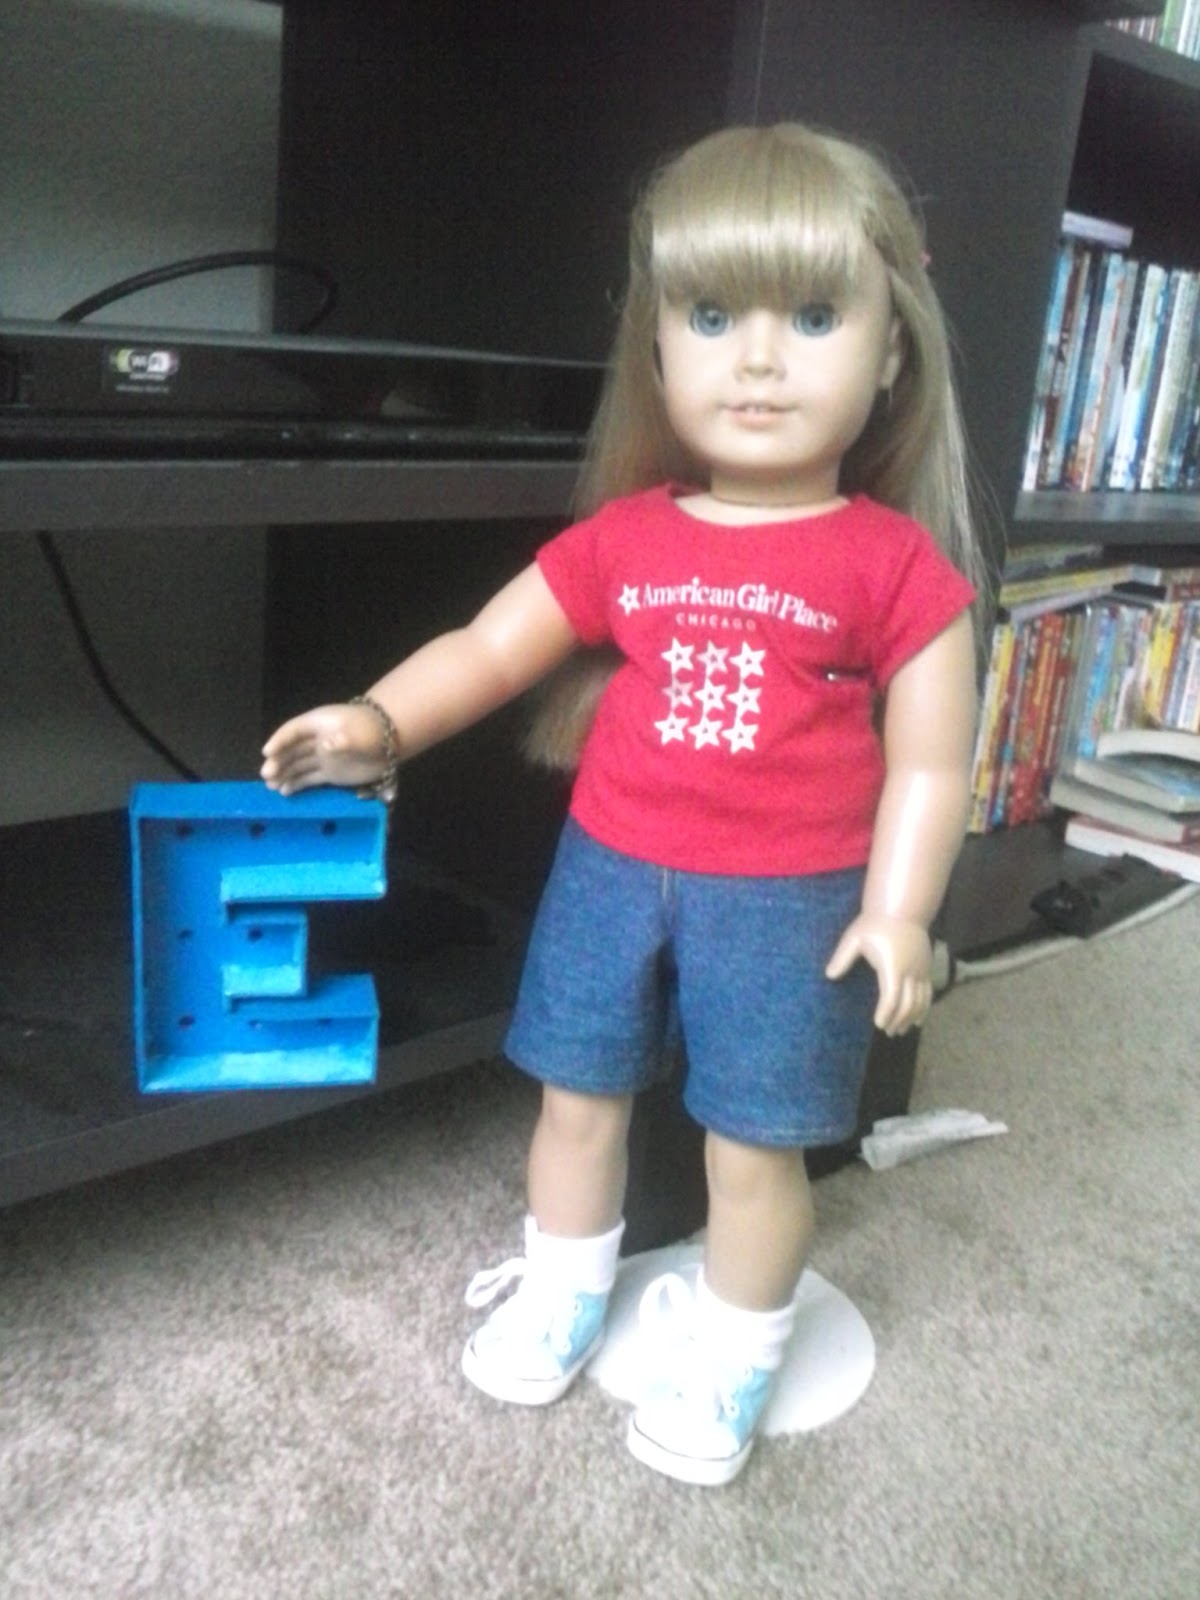
I made my own marquee sign!  I hope to make all of the letter for Emily, but for now I made the E!


I think it turned out pretty good.  I sort of changed how they made them.  I used a few stacked layers of paperboard and painted it.  My mom said JoAnns sold these (big ones of course) for about $40, while they had them anyways.  And she said mine looked quite close to those, except for some lights inside.


So don't forget to head over to Doll Diaries for some camping fun of your own!

And I have my own craft I will be posting soon!  A clue is that it always keeps you toasty and your marshmallows.

Have a wonderday!

Thursday, June 4, 2015

Update on Tent!


I emailed Our Generation last night and they got back to me this afternoon.

They said they would happily send along a new set of tent poles for free!  I am excited!  Hopefully it won't take too long to get here.

And I am going to make the activity over at Doll Camp Diaries today!  Or at least attempt it.  We shall see, I will share when I'm done!

Have a wonderday!


Wednesday, June 3, 2015

Camp Doll Diaries / Camp It Up! / Sleeping Bag

You may have noticed a button on my sidebar and it says "I Am Going To Camp!"  A metaphorical camp, of course, although one day I would love to have a camp where there are children and dolls and crafts and fun.  But none the less, the ladies behind the wonderful blog that is Doll Diaries host this for the past couple of years, and it's Camp for you and your dolls from the convenience of your very own home.

Each week there is a theme and craft, so you can have fun each week making something new for your doll.  And as stated in the posts, you can do as little or all of the activities as you wish through the summer.  I may not do each week, but when I do, I will try to post them on here.  It gets a bit crazy with everything.


And now since I have your attention, I wanted to let you know that I am going to do something called Camp It Up! this summer.  I will make some camping inspired crafts, because it is something I have always wanted.  So look out for that!  And if you have any ideas, let me know because I have some, but I know there are other fun things out there!


For right now I wanted to tell you about my sleeping bag for my doll!  I have had this sleeping bag for a long time, probably 10 years.  I know, I know.  It is an Our Generation sleeping bag and I did have the matching tent, but since we moved last year and we had to downsize a lot, and I may have ended up throwing it away (I can't remember if it was broken or not, or I have just misplaced, I'm not sure).  I found the tent!  I am missing all the pieces all of the pieces though that hold it together.  I have the poles and tent though.  Hopefully I will find them, otherwise good ole tape to hold it together.  ; )  No tape doesn't work.  I emailed the company and asked if it's possible to replace them.  We shall wait and see.


I always liked this little sleeping bag, and the bag it came in.  It can fit on the doll's shoulder quite nicely and when it doesn't hold the sleeping bag you can fill it with goodies!


The pillows are from an old Our Generation bedding set I had.  I ended up throwing that bed away because it was plastic.  I think everything was plastic from them at one point.  But I loved the pillows so I kept them.


Anyways, I just wanted to leave a note about that.  It's a bunch of stuff, but never the less I wanted to make a post.  So if you would like to check it out Camp Doll Diaries head on over there or click on the button on the side for more info!  And keep a look out for more ideas I have with Camp It Up!

Have a wonderday!

Saturday, May 30, 2015

Shorts! + Sailor Scout Fuku: Update #6

So as I said in a previous post, I got around to making shorts for my doll!  I really love how they turned out.  I think they turned out better than the pants did, I may have to either remake the pants or fix them up a bit later.


Ignore the mess behind Emily, it's my craft corner because I have no other way to store stuff right now.  But there she is.  I noticed I can pull them up higher and lower on her.

(Oh gosh I forgot about the pattern.  I used the Simplicity pattern 1580 for the shorts and jeans!  In case you wondered.)


They are just velcro-ed on the back.  That was probably the hardest part of these.  Trying to hand sew through the velco and three layers of denim is no fun, but they turned out great.

And you may notice the thread on the shorts.  I ran out of blue, so I found this color changing rainbow thread in the sewing box and thought it would look great.  And it did!  I want to use the thread again on something.


And looky what I pulled out today.  As you can see in the picture I have a lot of odd stuff done, and I just want it finished.  I set to work today on making the Sailor Chibi Moon's fuku and it's been going quite well.  I am almost done with it, I just need to sew on the hip puffy things, and then add the bottom with some elastic.  I would take a picture but the lightning is bad at night, so you will just have to take my word for it.

I do also need to make the other boots, finish the hair accessories, sew the pins on the bows, and I think that's it.  It just sounds like a lot work.  Oh, and I need to figure out how to attach the compacts onto their bows.  Not sure how yet, but I will figure it out.

So tonight I will probably watch a movie and sew the pins on the back of the bows.  It's a pretty simple thing to do, just annoying and tiny.  Other than that, it's all I got today, so...

Have a wonderday!

Thursday, May 28, 2015

Tab For a Cause!


Hello everyone I am here, not with something doll related, but another awesome thing the internet has to offer.  This is something for Google Chrome users I believe, just as a side note.

I am a person who doesn't usually use the same tab twice, so I am constantly opening new tabs in my browser.  You can imagine how difficult it was before we even had tabs, and that doesn't even feel like that long ago.  Anyways I found this fun way for while you are browsing the internet you can be help save the world as well!

Tab for a Cause is an organization that helps "save the world one tab at a time."  I find that slogan to just be awesome.  Basically for every tab you open, you are raising money for charity.  You can click the link to take you to the site and they will explain everything in detail there.

If you would like to try this awesome thing, because trust me it is an awesome thing, then you can CLICK HERE and spread the love!  It gives you warm fuzzies and you are helping the world just by surfing the net.  Do they even call it "the net" these days?  I don't know.

Have a wonderday!


P.S. DFTBA!

Tuesday, May 26, 2015

Guitar & Jeans!

Over Memorial Day weekend, I was hard at work on some thing for my doll.  I think she looks quite snazzy too!


First off I will talk about the guitar I made.  I have wanted a guitar for my American Girl doll for a long time.  And when American Girl had one I thought I would be able to get it, but it was quite expensive.  Finally I sat down and did it.


I used MyFroggyStuff's instructions from her second how to make a guitar video.  I sort of made it my own by adding different touches here and there.  I even added a hook on the strap so it's easy to take off and put back on!  I really enjoyed this craft, I think I should make a microphone next.


And following that, you may have noticed the jeans Emily are wearing.  I made them yesterday!


When the JoAnns by my house was moving, everything was on sale (everything!).  So I bought some denim material for when I wanted to make some jeans.  And I did just that!  I plan to make a pair of shorts with the left over fabric, but my hands were done last night after I finished the jeans.

You will may have also noticed the shirt she is wearing.  It is actually a hoodie pattern from one of the many patterns I own, and I wanted to test it out.  I had to adjust it a lot because it's supposed to be made with stretch material, but it's kind of long sleeve hood shirt now.  I like it.


I plan to fix it up with the sewing machine soon, but for now I think it will hold together.

I hope you all had a wonderful weekend and have a wonderful week!  Oh, and I finally contacted American Girl about my doll's wobbly limbs.  I am eagerly awaiting a reply from them.

Have a wonderday!

P.S. I hope you noticed my snazzy new header.  I had fun working on it and thought it fit well.  : )

Edit: P.P.S. After making a new header, I decided to redo the whole blog!  I kind of want a different background, but I think for now it's okey-dokie!

Wednesday, May 20, 2015

Camera For My Doll!

To be honest this craft was not my idea, I took an idea from MyFroggyStuff and modified it how I wanted it, which is why this isn't a how to, but more of a how I did it and you can try it this way too.

Now I have always wanted a camera for my doll, and I made the Polaroid one MyFroggyStuff had, but I wanted a digital one.  So on one of her more recent videos she made a newer looking camera and ideas came forming in my mind.  I gathered my supplies and got started.


I started off by drawing the basic camera shape I wanted on a piece of paper board.


I traced about twenty or so of the little shape and cut them out.


I did end up drawing more than I needed, but I figured I would just save that for a later craft.  And a side note about this, I had to flip my tracer over to make sure I had a few going both ways because I didn't want any of the colored parts shown.


I took three of the paper board cut outs and cut out a notch for where I wanted a picture to slide in.  And then I cut out rectangles in two of the cut outs for the window to see the picture.


I glued them all together and then sanded down the edges to make them smooth.  I did eventually just glue cardboard on the sides to make them more even because I didn't want to sit there sanding for any longer than I did.


Next for the handle and lens on the camera I rolled some paper on a toothpick and made the shapes I wanted.  It took some experimenting and some not so good ones, but I liked the ones I made.


Here they are drying with all the glue I used and I used a lot.  I wanted it to last, so don't be afraid to glue, glue, glue!


After everything was dry I started to paint the camera!  I went with the regular black and then added some different features on the back of the camera with other colors.

I also added a bead on top as the button when you click to take the picture.


I put a layer of clear drying glue on top and presto!  And the added jewel to make the lens look real was added.


To make the pictures, I just sized down my own pictures to tiny size, glued them on paper board, and put on a layer of clear drying glue to keep them sturdy.  I like how my little camera turned out.  Now only if I could have one like this.  (That was my apology for having not so good pictures, but it was night when I finished and my phone camera doesn't like darkness at all.)

Have a wonderday!

Monday, March 30, 2015

Sailor Scout Fuku: Update #5

Howdy everyone!  This past month has been an interesting one for me, but guess what...I was able to work on something!  My hand sort of hurts after working with it, but I suppose that was bound to happen.  I finished creating one of the pair of boots I need to make the Sailor Moon outfit!  Well sort of finished, I still need to add the moons to the top of the boots, but I think I say they are pretty much done!


I am not sure if I mentioned before, but I used this boot pattern for them and to be honest I think they turned out quite for never having used pleather before.  They velcro in the back and fit quite well on the dolls foot.  I wouldn't suggest wearing socks with the boots though, I tried and they weren't quite big enough.  If you happen to make them bigger, I don't see why not though.  

I did have a cut a new piece of pleather for one of the stripes I believe.  I got frustrated and let me tell you going slow and steady is everything with this stuff.  The small stitches help everything hold together better too.

I thought using the hot glue would cause the pleather to melt, but it seemed fine.  I don't have that hot of a glue gun, that could be why, but I was happy that it didn't.

I think that is all from me today, I really want to start on Sailor Chibi Moon's outfit, but I'm having thoughts of restarting Sailor Moon's now.  It looks fine, it's just really tight on the doll.  Oh wells, I have to improve and all that jazz.  So until next time, have a wonderday!


P.S. The store Hobby Lobby just opened right down the road from us.  I haven't had the chance to pop in yet, but we now have a JoAnns, Michaels and Hobby Lobby all within walking distance from one another.  Let the battle of craft stores begin!

P.S.S.  I realized I forgot to share that since JoAnns got some Doctor Who fabric I was able to make some pajama pants for myself and I had enough left over fabric to make some for my doll.  I'll try to remember to take a pick and show you because I love them!  That's all for now, TTFN!

Monday, March 2, 2015

Sailor Scout Fuku: Update #4

Hi ho!  Alright, so I took a trip to JoAnns the other day and bought something I needed for the Sailor Scout Fuku.  I have mostly all I needed but then I realized I needed something for her boots.

I found a pattern online that was perfect.  It is located here!  On the pattern there is a large stripe that goes down the boot, but all I had to do was cut it off when I was cutting off the pattern.

As I mentioned before, I went to JoAnns and bought pleather (faux leather).  I purchased 1/4 of a yard of each color.  Since I making 2 Sailor Fukus, I need to make 2 pairs of boots.  I also bought a bit extra because I knew I would probably mess up.


I started to cut out the pieces I will need to make the boots, but that's about as far as I got tonight because it's kinda late.  I hope to work on them soon, but it all depends on life I suppose.


While I was at JoAnns, I saw this fabric and couldn't walk away from it.  Not sure what I will do with it yet, but I wanted it.  I love paw prints, and can't get enough of them.  I looked for cute paw print buttons, but they didn't have any.  I figured I would keep looking.


So yep, that's about as far as I've gotten so far.  I was going to work on the outfits last weekend, but my friend's lung collapsed and she needed surgery so I was fretting about that for awhile.  She is doing better now, at home resting.  But anywhos, I am going to keep working on it the best I can!