I glued two tri-folds together, back to back, that is how I created this look.
Here it is!
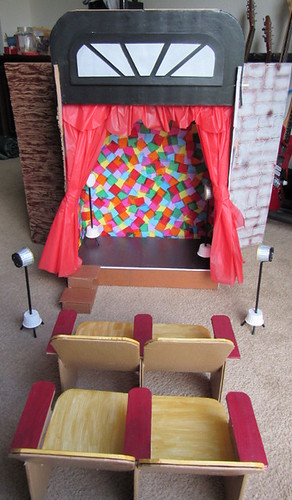
I worked on this for weeks. I created the stage, so it collapses for easy storage, created a different scene on each side, and added some fun details.
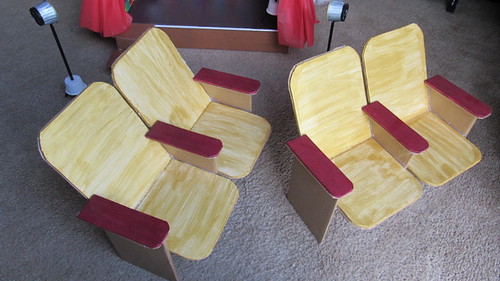
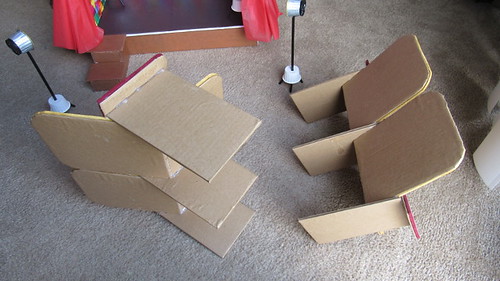
Here are the seats. I made two sets using cardboard, foam board, hot glue, paint, and paper. There were a lot easier to make than I thought they would be. It just required a bit of patience and a lot of cutting. I love how they turned out.
Next is the stage of itself. I had a lot of ideas of what I wanted to do and getting them down on paper was hard, so I did most of this just from the top of my head.
The top of the stage is just a design I create. The curtains are made of a plastic table cloth from the dollar store.
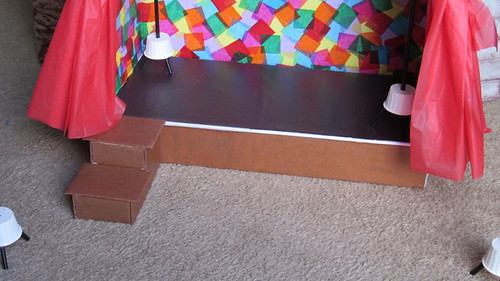
I knew I wanted a colorful background, so I used tissue paper squares and made a water/glue mixture. I turned on some Netflix and it took about two days, but I finished coating the background.
The top of the stage is just a design I create. The curtains are made of a plastic table cloth from the dollar store.
I knew I wanted a colorful background, so I used tissue paper squares and made a water/glue mixture. I turned on some Netflix and it took about two days, but I finished coating the background.
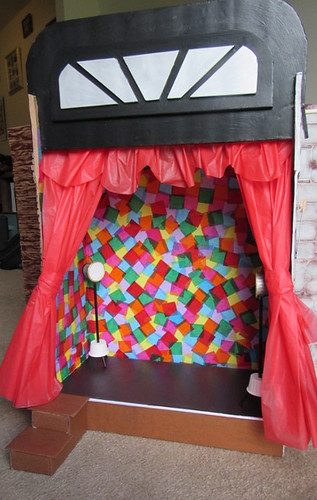
I made a pair of stairs, so the dolls can walk on and off the stage. I just covered some cardboard in brown construction and glued them together.
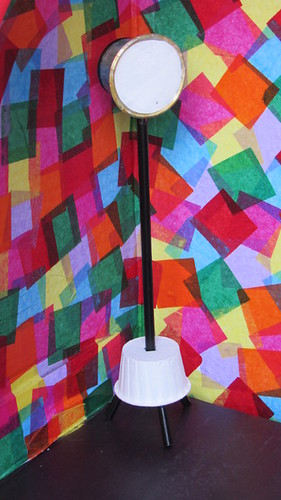
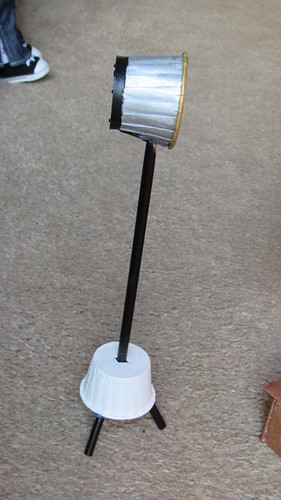
Next are these spotlights I made. I used condiment cups, straws, and flickering tea lights. I adore these. They took quite a bit of time, but I love how they turned out.
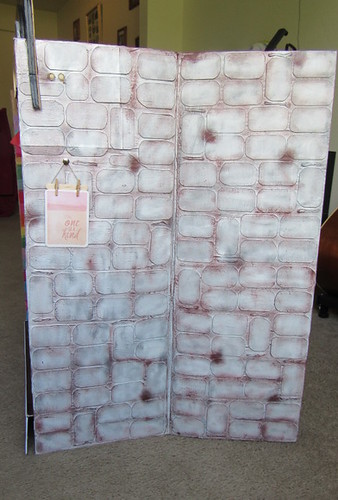
Next on one of the sides, I made a brick pattern. I cut out the bricks, rectangles with rounded edges. And then painted it.
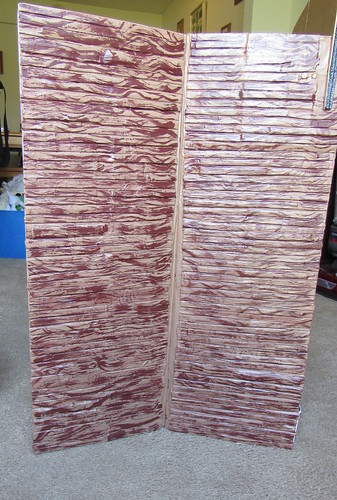
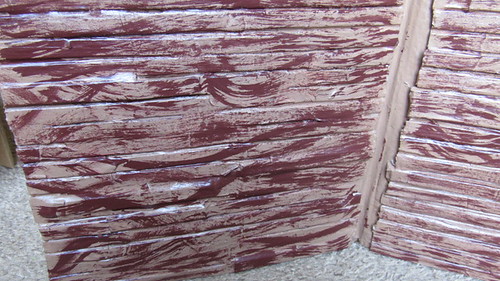
On the next side, I made a wood pattern. I cut the ends off of popsicle sticks and glued them to the sides. I coated them using a Modpodge and water mixture and layered paper on them to add more dimension. I decided to paint it all one color and then added darker brown for accents.
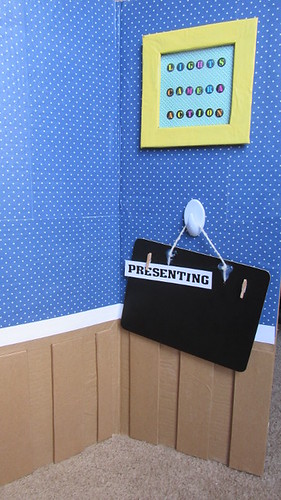
And then this is the back! It can either be used as a lobby or backstage.
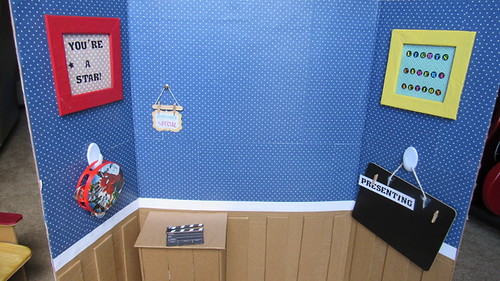
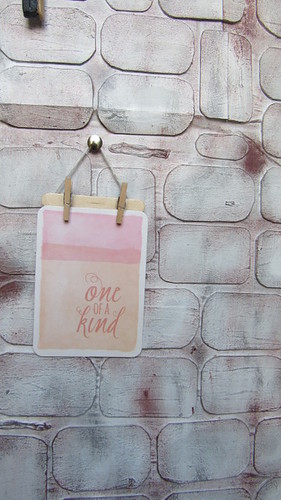
I made the picture frames able to hold pages so they can change. I could make posters for them too. I added magnets to the back of the hooks, so I can take them off when I need to fold up the stage.
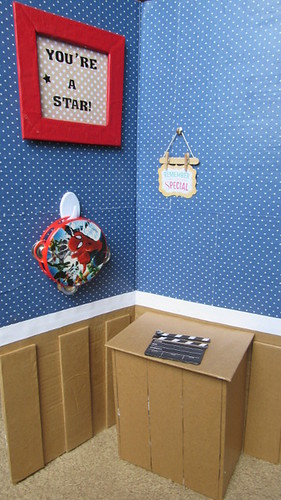
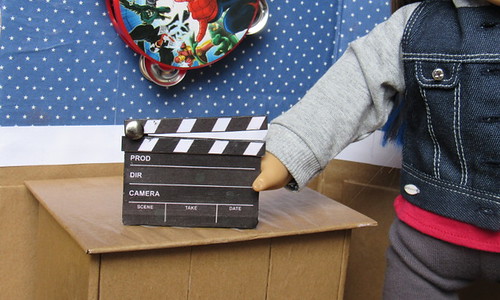
I made a clapper board too. I always wanted one of these myself, so I made one for my doll.
And that's all for now. If you have any additional questions, just ask. Have a wonderday!

Oh my word, this is incredible!!
ReplyDelete